Mesh Slicer 
A quick overview of slicing meshes in Unity/C#
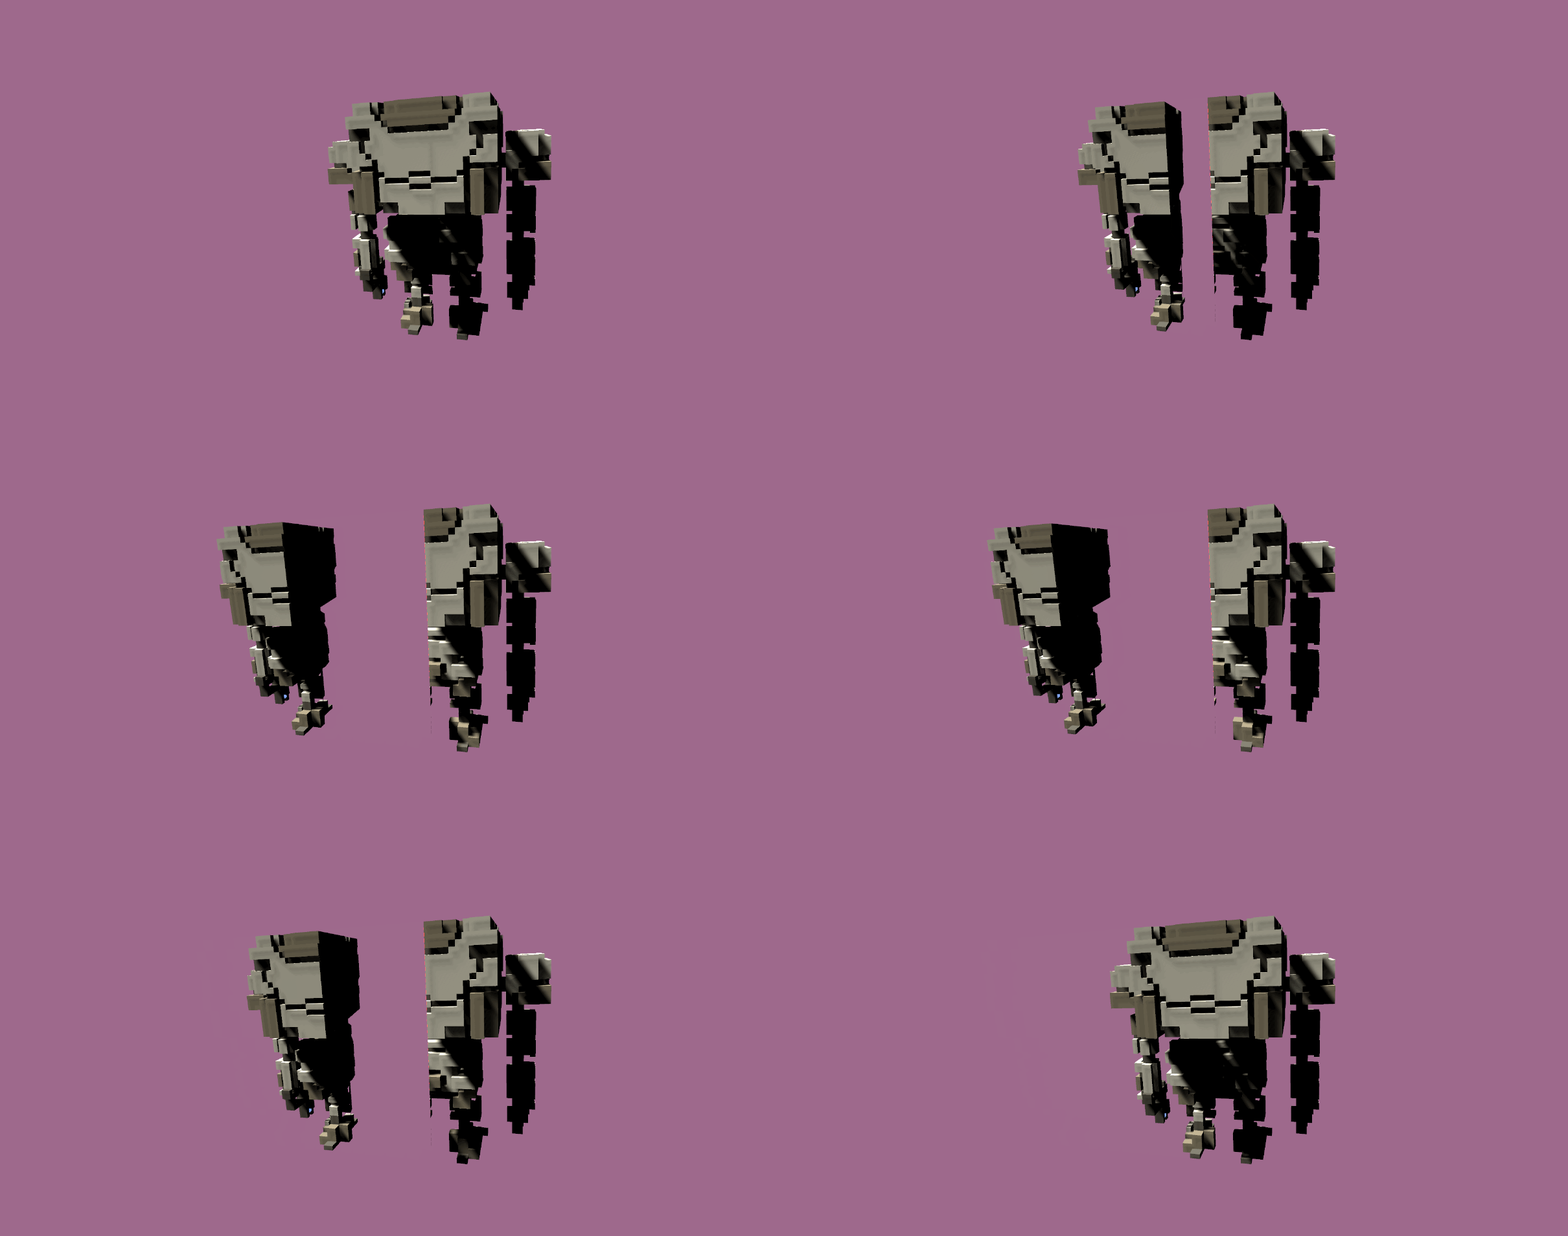
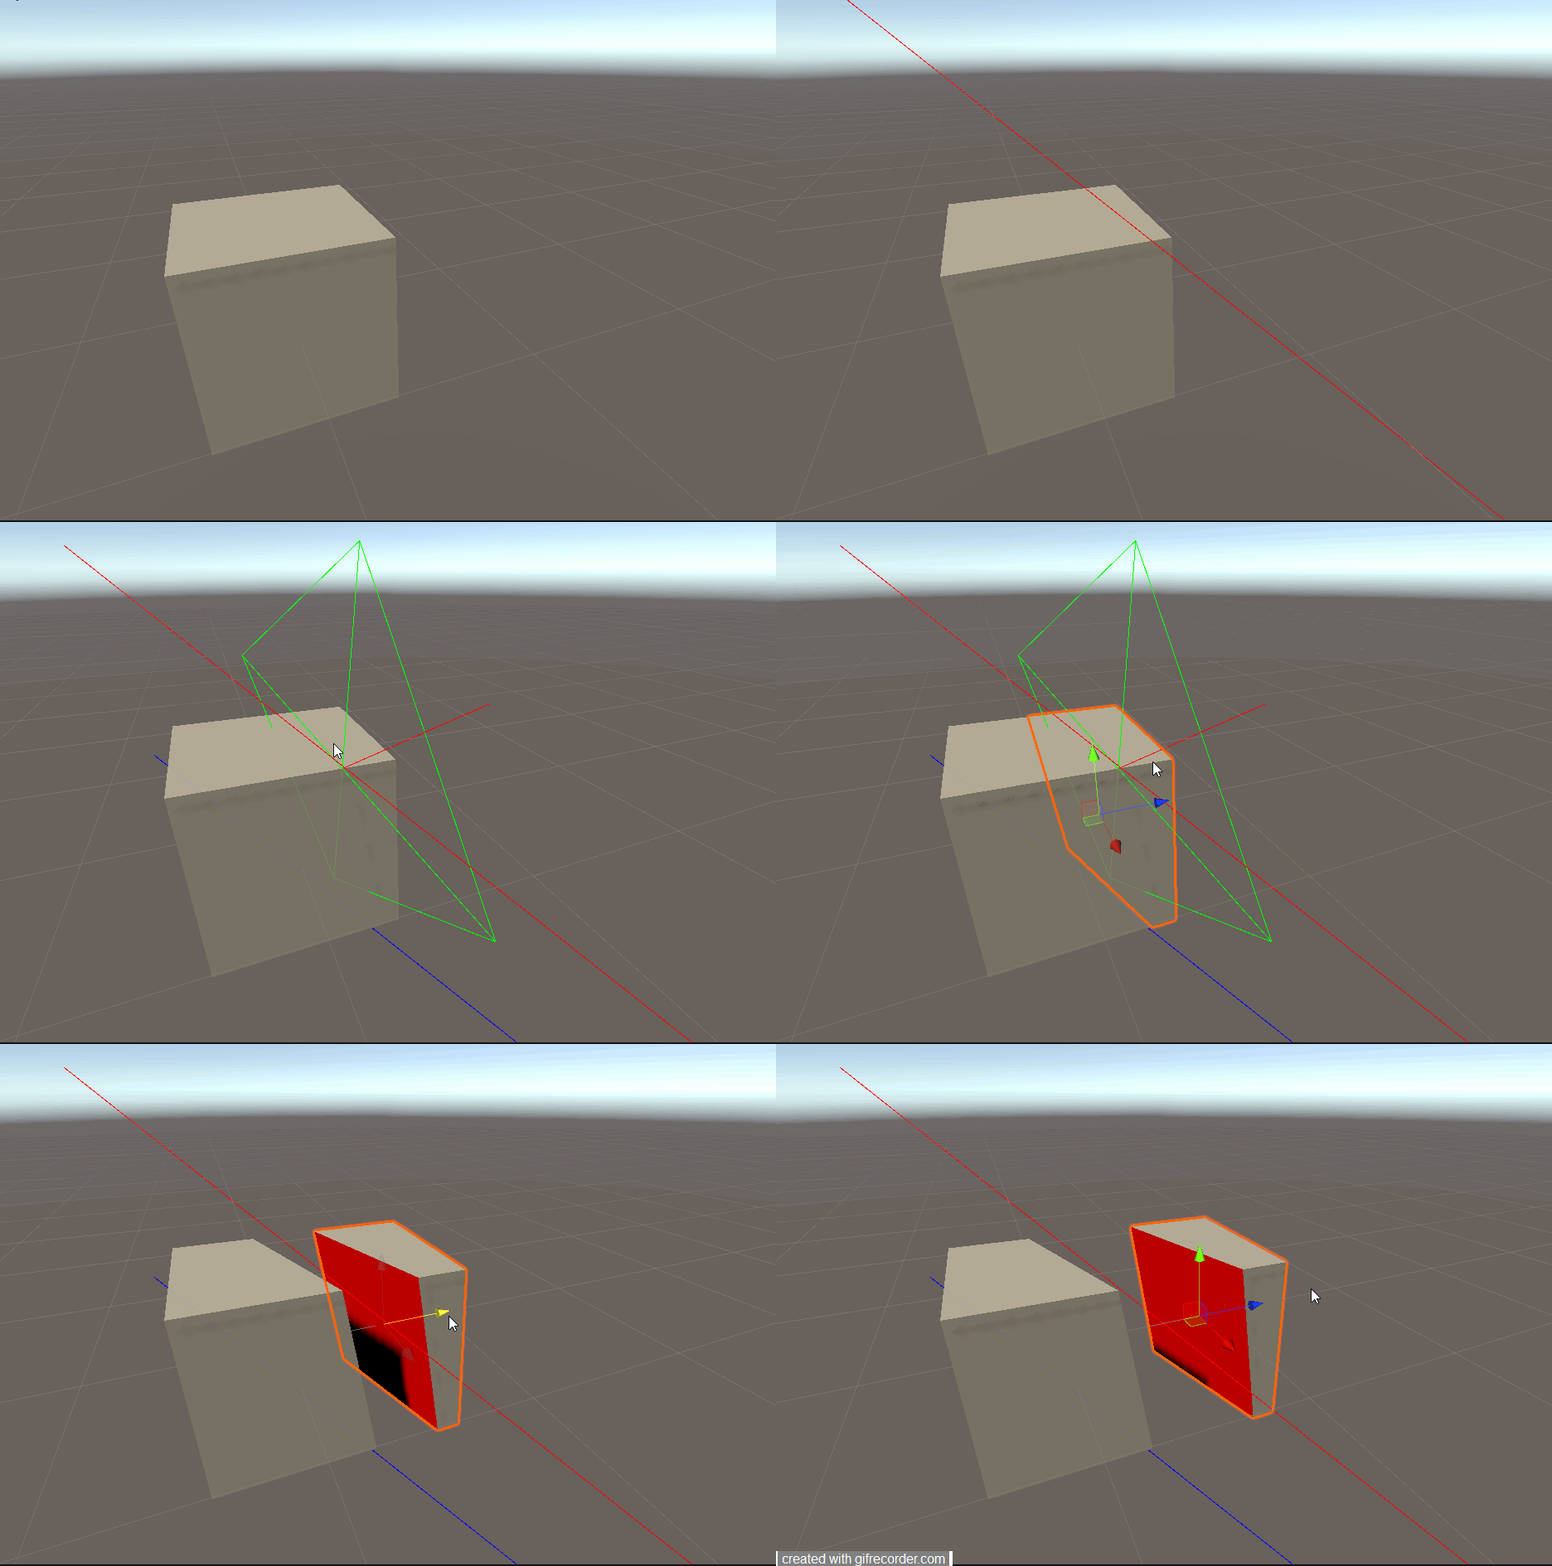
In this tutorial how we can slice meshes in Unity using mouse input and simple raycasting.
This tutorial is divided into 5 sections:
- Setting up inputs to slice meshes
- Algorithm Overview
- Assigning Triangles
- Cutting Triangles
- Drawing Interior Faces
Setting up inputs to slice meshes
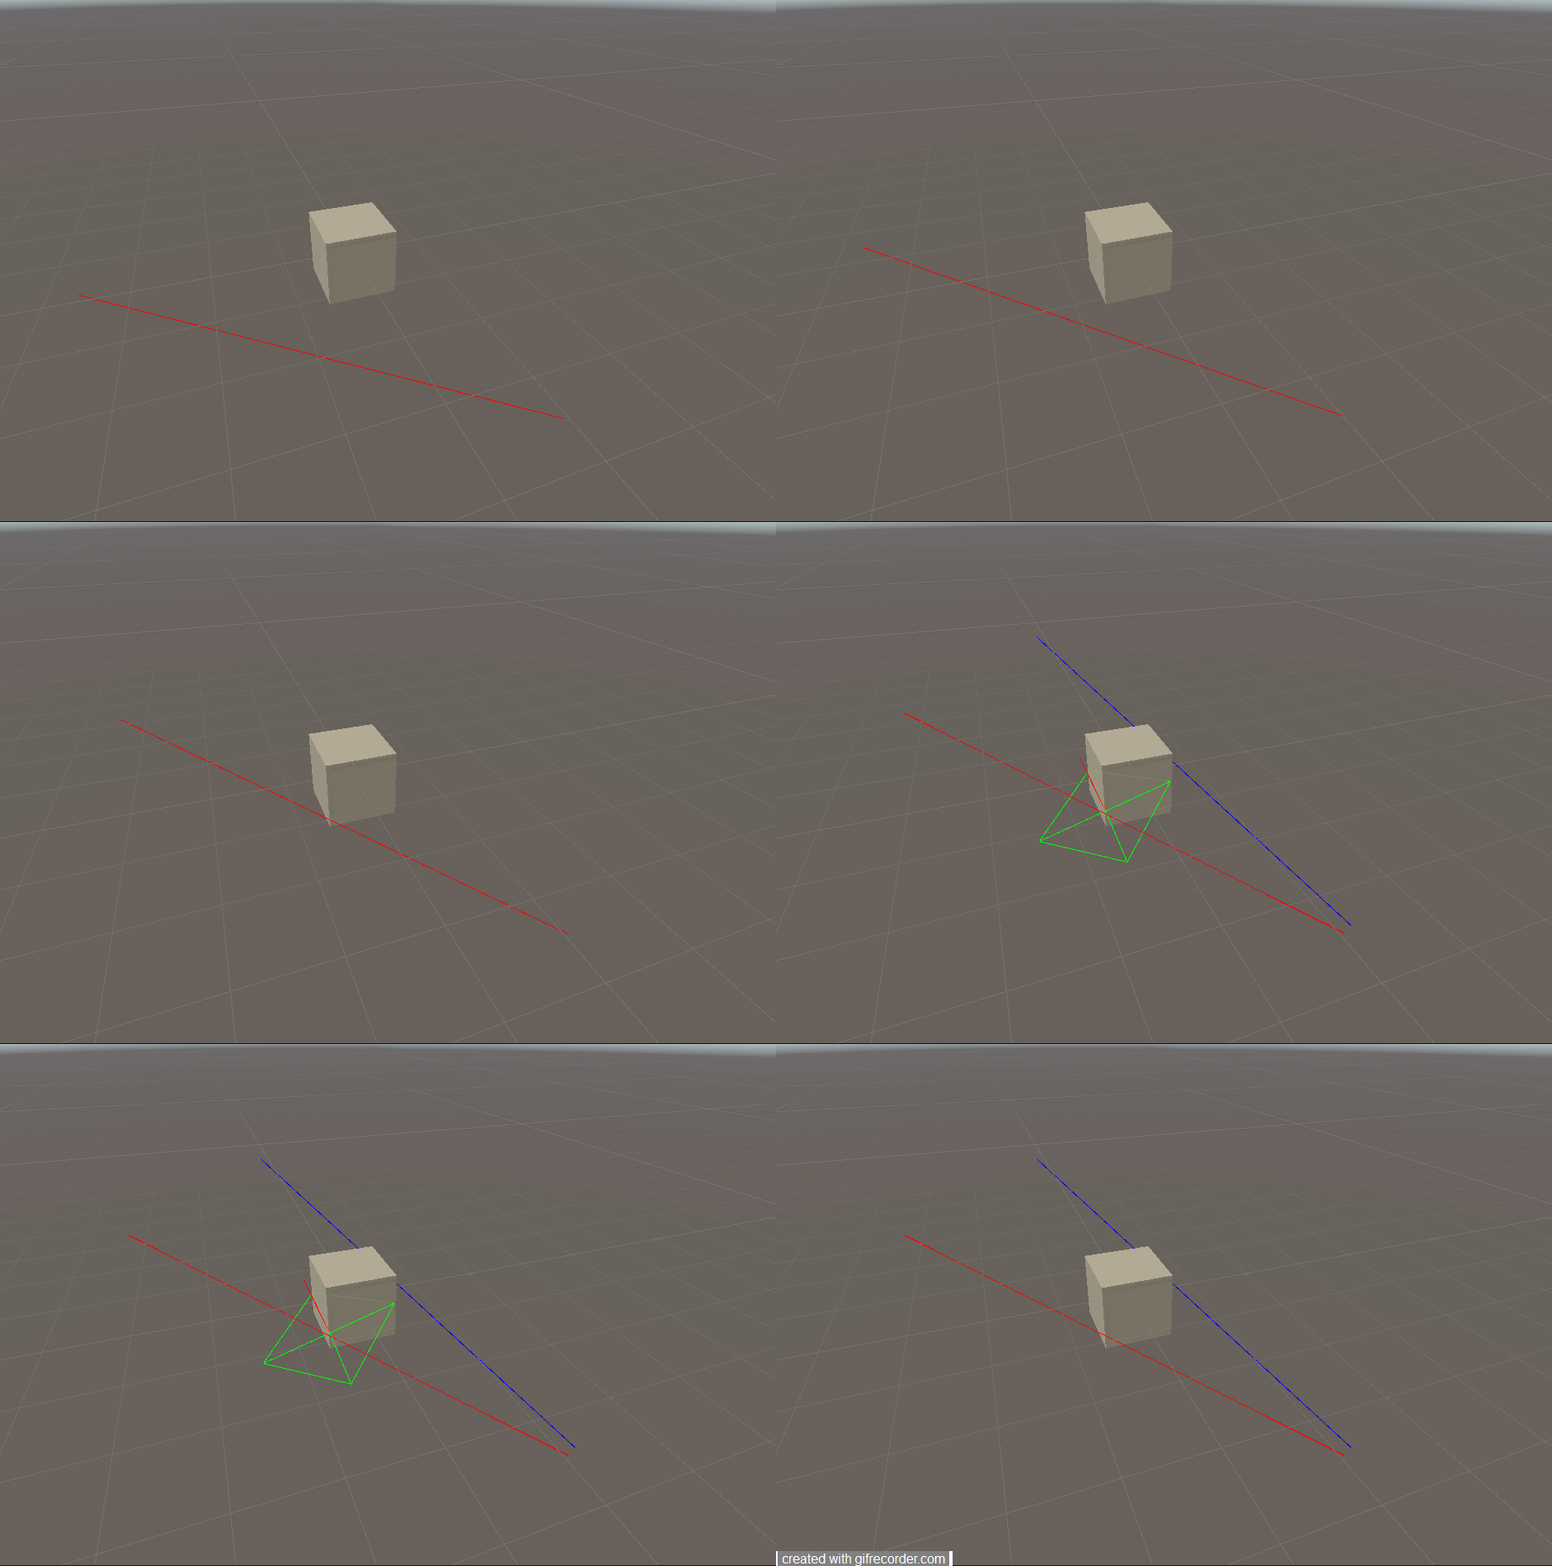
To start, we setup a simple class that ray casts mouse input onto the model we are trying to slice. If we hold down the mouse button and aim away from the model (in game view), we should see a red ray (in the scene view). Once the red ray enters the model, it shows itself as blue and stops following the mouse. We will use these two rays to define our cutting plane.
Algorithm Overview
The algorithm to perform the cutting happens in a script called MeshSlicer which is attached to the object we are slicing. We make sure that we access to this object's MeshFilter Component so that we can access the object's vertices, normals, and triangles.
A mesh is simply a collection of triangles that are grouped together. Each triangle has 3 vertices. The main idea behind the algorithm is this:
- Go through the vertices of every triangle in the mesh
- Figure out on which side of the plane each vertex lies.
- If all 3 vertices lie on the negative side of the plane, we send the triangle to the negative mesh.
- If all 3 vertices lie on the positive side of the plane, we send the triangle to the positive mesh.
- If we have a case where 2 out of 3 vertices lie on one side, we cut that triangle
public void Slice(Plane plane, Vector3 pointOnPlane) {
GameObject negative = GameObject.Instantiate(this.gameObject, this.transform.position, Quaternion.identity);
GameObject positive = GameObject.Instantiate(this.gameObject, this.transform.position, Quaternion.identity);
negative.transform.name = "negative";
positive.transform.name = "positive";
// reset negative mesh
MeshFilter negativeMF = negative.GetComponent<MeshFilter>();
negativeMF.mesh = new Mesh();
// reset positive mesh
MeshFilter positiveMF = positive.GetComponent<MeshFilter>();
positiveMF.mesh = new Mesh();
Vector3[] vertices = this.meshfilter.mesh.vertices;
Vector3[] normals = this.meshfilter.mesh.normals;
Vector2[] uv = this.meshfilter.mesh.uv;
for (int i = 0; i < this.meshfilter.mesh.subMeshCount; i++) {
int[] triangles = this.meshfilter.mesh.GetTriangles(i);
for (int j = 0; j < triangles.Length; j+=3) {
// the index of each vertex is in the triangle array in groups of 3.
int a = triangles[j];
int b = triangles[j+1];
int c = triangles[j+2];
bool aPosSide = plane.GetSide(vertices[a]);
bool bPosSide = plane.GetSide(vertices[b]);
bool cPosSide = plane.GetSide(vertices[c]);
if (aPosSide && bPosSide && cPosSide) {
positiveSlicer.AddTriangle(...);
} else if (!aPosSide && !bPosSide && !cPosSide) {
negativeSlicer.AddTriangle(...);
} else {
this.CutTriangle(...);
}
}
}
// add triangle saves added triangles to meshslicer component. We commit them all at once when we're completely done
leftSlicer.CommitTriangles();
rightSlicer.CommitTriangles();
// destroy current game object
Destroy(this.gameObject);
}
Let's unpack the above code a little more. First, we create 2 new objects that are copies of the current object. We name one negative and the other positive. The next step is to gain access to each of the copies' MeshFilter Components and reset their mesh since we will decide (later on) which triangles go to which object; we do this by calling new Mesh().
Each mesh can have multiple sub-meshes so our outer for-loop takes care of that first. Our inner for-loop goes through the triangles of each sub-mesh and determines which object (negative or positive) each triangle belongs to. We use the Plane Class's built-in function GetSide() to do this.
After the nested for-loop we destroy the original game object.
Assigning Triangles
Now that we know how to determine where the triangles and (their respective) vertices go (step 2), we continue and define a triangle class for convenience.
public class Triangle {
public Vector3 a;
public Vector3 b;
public Vector3 c;
public Vector3 normal;
public Vector3 aNormal;
public Vector3 bNormal;
public Vector3 cNormal;
public Vector2 uva;
public Vector2 uvb;
public Vector2 uvc;
public Triangle(...) {
// totally standard init
...
}
}
We then define a function in the mesh slicer class called AddTriangle which we can use to assign a triangle to either the negative or positive object once the mesh is sliced (steps 3 and 4).
void AddTriangle(Vector3 a, Vector3 b, Vector3 c, Vector3 na, Vector3 nb, Vector3 nc, Vector2 uva, Vector2 uvb, Vector2 uvc, int subMeshIndex) {
Vector3 p0 = Vector3.zero; Vector3 p1 = Vector3.zero; Vector3 p2 = Vector3.zero;
Vector3 n0 = Vector3.zero; Vector3 n1 = Vector3.zero; Vector3 n2 = Vector3.zero;
Vector2 uv0 = Vector2.zero; Vector2 uv1 = Vector2.zero; Vector2 uv2 = Vector2.zero;
if (Vector3.Dot(na, Vector3.Cross(b-a, c-b)) > 0) {
p0 = a; n0 = na; uv0 = uva;
p1 = b; n1 = nb; uv1 = uvb;
p2 = c; n2 = nc; uv2 = uvc;
} else {
p0 = a; n0 = na; uv0 = uva;
p1 = c; n1 = nc; uv1 = uvc;
p2 = b; n2 = nb; uv2 = uvb;
}
this.newVertices.Add(p0); this.newVertices.Add(p1); this.newVertices.Add(p2);
this.newNormals.Add(n0); this.newNormals.Add(n1); this.newNormals.Add(n2);
this.newUV.Add(uv0); this.newUV.Add(uv1); this.newUV.Add(uv2);
if (!triangles.ContainsKey(subMeshIndex)) {
this.triangles[subMeshIndex] = new List<int>();
}
List<int> subMeshTriangles = this.triangles[subMeshIndex];
subMeshTriangles.Add(this.newVertices.Count-3);
subMeshTriangles.Add(this.newVertices.Count-2);
subMeshTriangles.Add(this.newVertices.Count-1);
}
void AddTriangle(Triangle t, int subMeshIndex) {
this.AddTriangle(t.a, t.b, t.c, t.aNormal, t.bNormal, t.cNormal, t.uva, t.uvb, t.uvc, subMeshIndex);
}
The only other thing of note here is the order of vertex assignment. When asssigning the vertices of a triangle, their order defines the winding order of the triangle. Unity uses a clockwise winding order for determining front-facing polygons. We have the option of defining either the triangle ABC or ACB. We use vectors AB (b-a) and BC (c-b), suggesting a winding order of ABC and calculate their cross product to find the normal vector. Then we use the suggested normal vector and the normal vector that is provided to check whether they are parallel or facing in opposite directions. If they are parallel then our suggested winding order was correct and we assign ABC. Otherwise, our suggested winding order was incorrect and we go with the ACB option.
Cutting Triangles
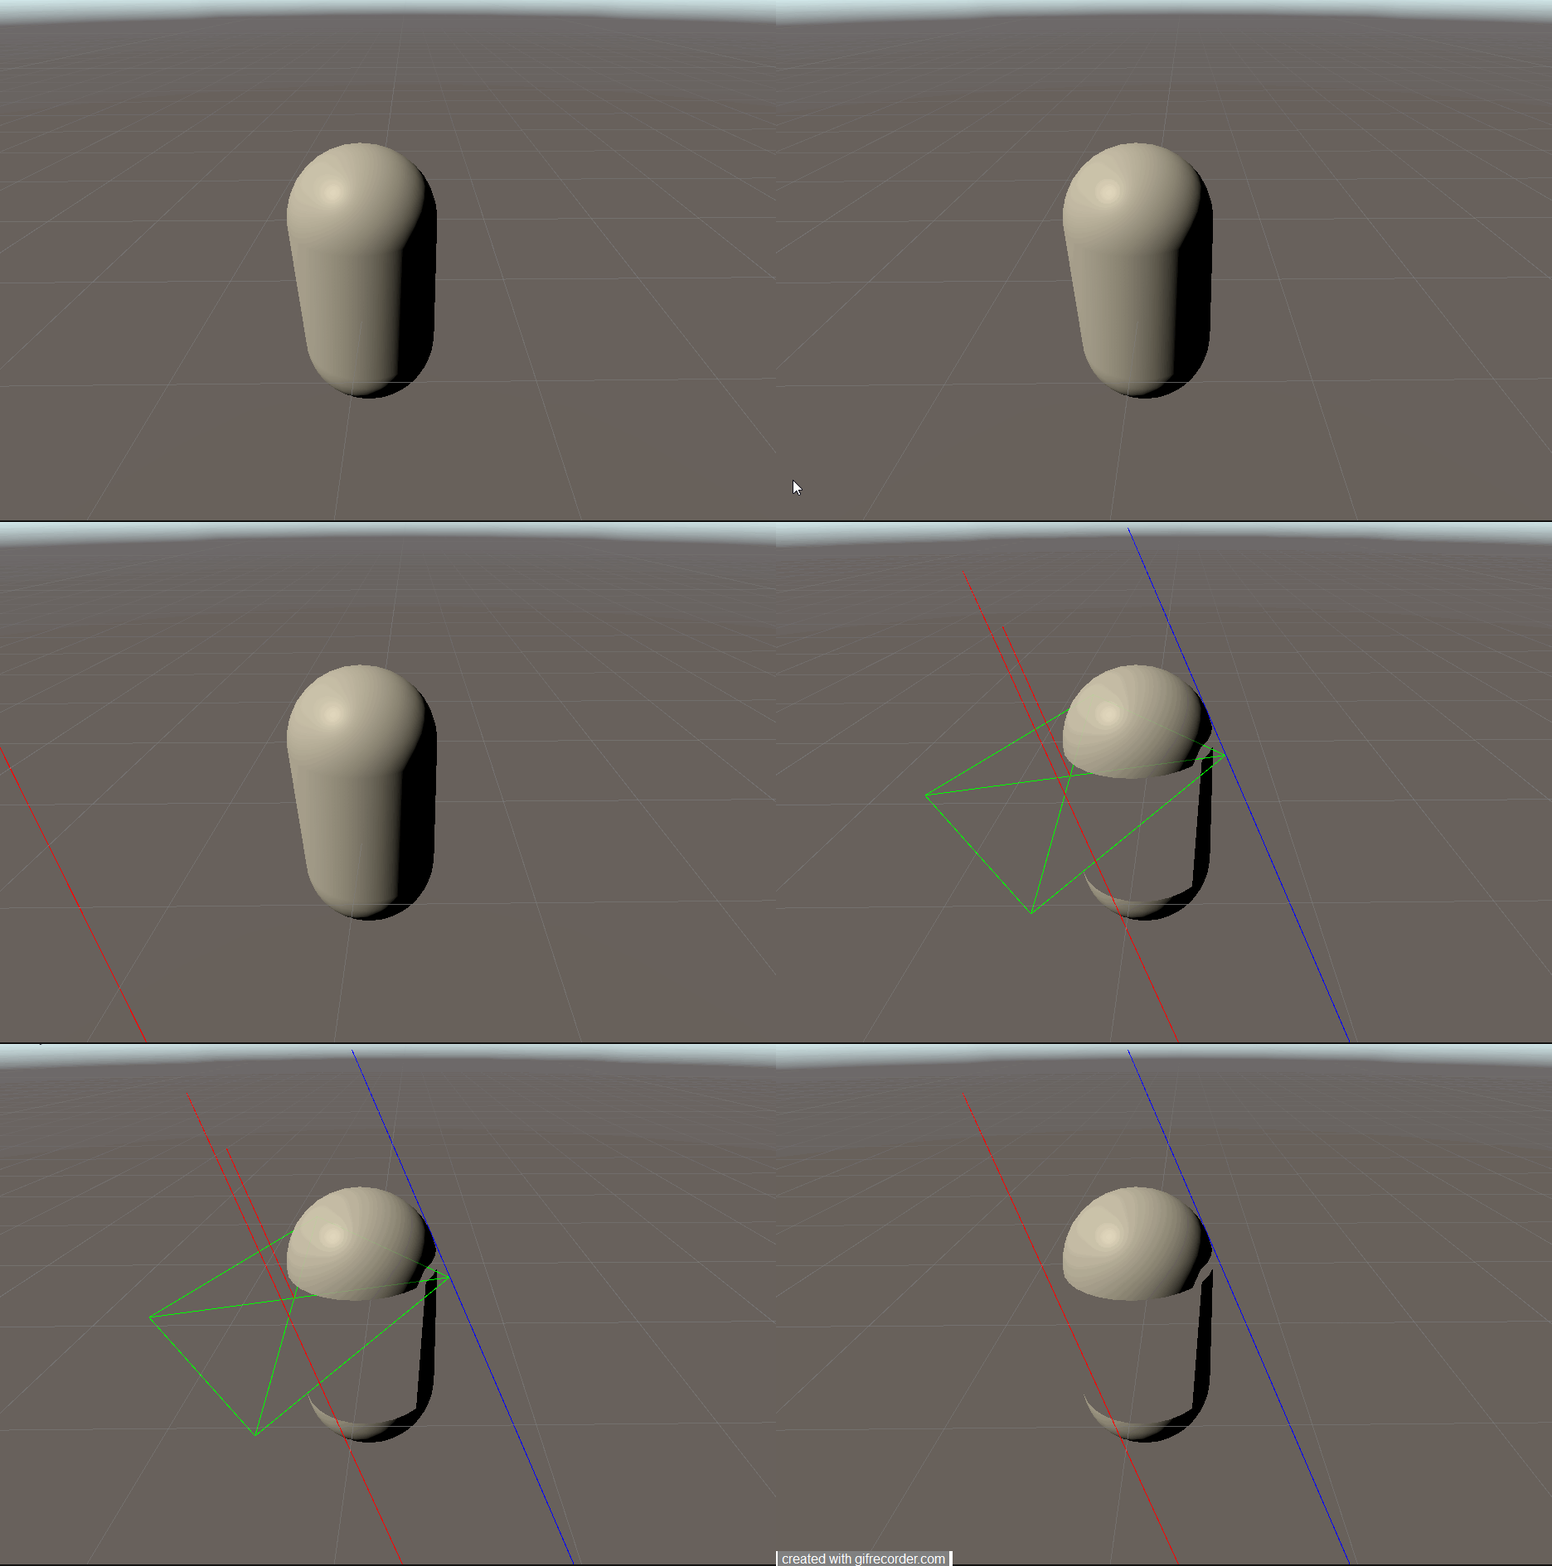
We now turn our attention to the last case in our overall algorithm. If a plane cuts through a triangle, we need to determine the sizes of the resulting triangles and assign them to the appropriate sides.
As illustrated in the image above, when we cut a line through a triangle we always have a result such that one vertex is separated from the other 2 vertices of the triangle. This gives us one smaller triangle and a trapezium. Our meshes deal only with triangles so we will further divide the trapezium giving us 2 more triangles.
Therefore, we need to add the following 3 triangles to our meshes.
- Triangle(p0, i2, i1)
- Triangle(p1, i1, p2)
- Triangle(i1, i2, p2)
In order to calculate i1 and i2, we need the distances d1 and d2.
Before we calculate d1 and d2,we first need to figure out how a, b, and c map onto p0, p1, and p2. As mentioned earlier, p0 is the lone side of the triangle and p1 and p2 are on the other side of the line intersecting the triangle. In our function CutTriangle(...) we provide it the calculated parameters aPosSide, bPosSide, and cPosSide which indicate whether the points are on the positive side of the plane.
public void CutTriangle(int aIdx, bool aPosSide,
int bIdx, bool bPosSide,
int cIdx, bool cPosSide,
Vector3 pointOnPlane, Plane p,
MeshSlicer negative, MeshSlicer positive) {
Vector3[] vertices = meshfilter.mesh.vertices;
Vector3[] normals = meshfilter.mesh.normals;
Vector2[] uv = meshfilter.mesh.uv;
int p0Idx = -1;
bool p0PosSide = false;
int p1Idx = -1;
int p2Idx = -1;
if (aPosSide == bPosSide) {
p0Idx = cIdx;
p0PosSide = cPosSide;
p1Idx = aIdx;
p2Idx = bIdx;
} else if (aPosSide == cPosSide) {
p0Idx = bIdx;
p0PosSide = bPosSide;
p1Idx = aIdx;
p2Idx = cIdx;
} else if (bPosSide == cPosSide) {
p0Idx = aIdx;
p0PosSide = aPosSide;
p1Idx = bIdx;
p2Idx = cIdx;
}
// d = (p0-l0).n / l . n
Vector3 p0 = vertices[p0Idx];
Vector3 normal = normals[p0Idx];
Vector3 p1 = vertices[p1Idx];
Vector3 p2 = vertices[p2Idx];
Vector3 p0MinusL0 = (pointOnPlane-p0);
Vector3 line1 = (p1 - p0);
Vector3 line2 = (p2 - p0);
float p0MinusL0DotN = Vector3.Dot(p0MinusL0, p.normal);
float d1= p0MinusL0DotN / Vector3.Dot(line1, p.normal);
float d2 = p0MinusL0DotN / Vector3.Dot(line2, p.normal);
Vector3 i1 = p0 + line1*d1;
Vector3 i2 = p0 + line2*d2;
...
Triangle t1 = new Triangle(p0, i2, i1, ...);
Triangle t2 = new Triangle(p1, i1, i2, ...);
Triangle t3 = new Triangle(p1, i2, p2, ...);
if (p0PosSide) {
positive.AddTriangle(t0);
negative.AddTriangle(t1);
negative.AddTriangle(t2);
} else {
negative.AddTriangle(t0);
positive.AddTriangle(t1);
positive.AddTriangle(t2);
}
}
After we finish mapping a...c onto p0...p2, calculating i1 and i2 is trivial. Next we create 3 triangles, t0, t1, t2, with p0 being in t0. Next, we look at which side of the plane p0 lands, and assign t0, t1, and t2 to the appropriate side.
Drawing Interior Faces
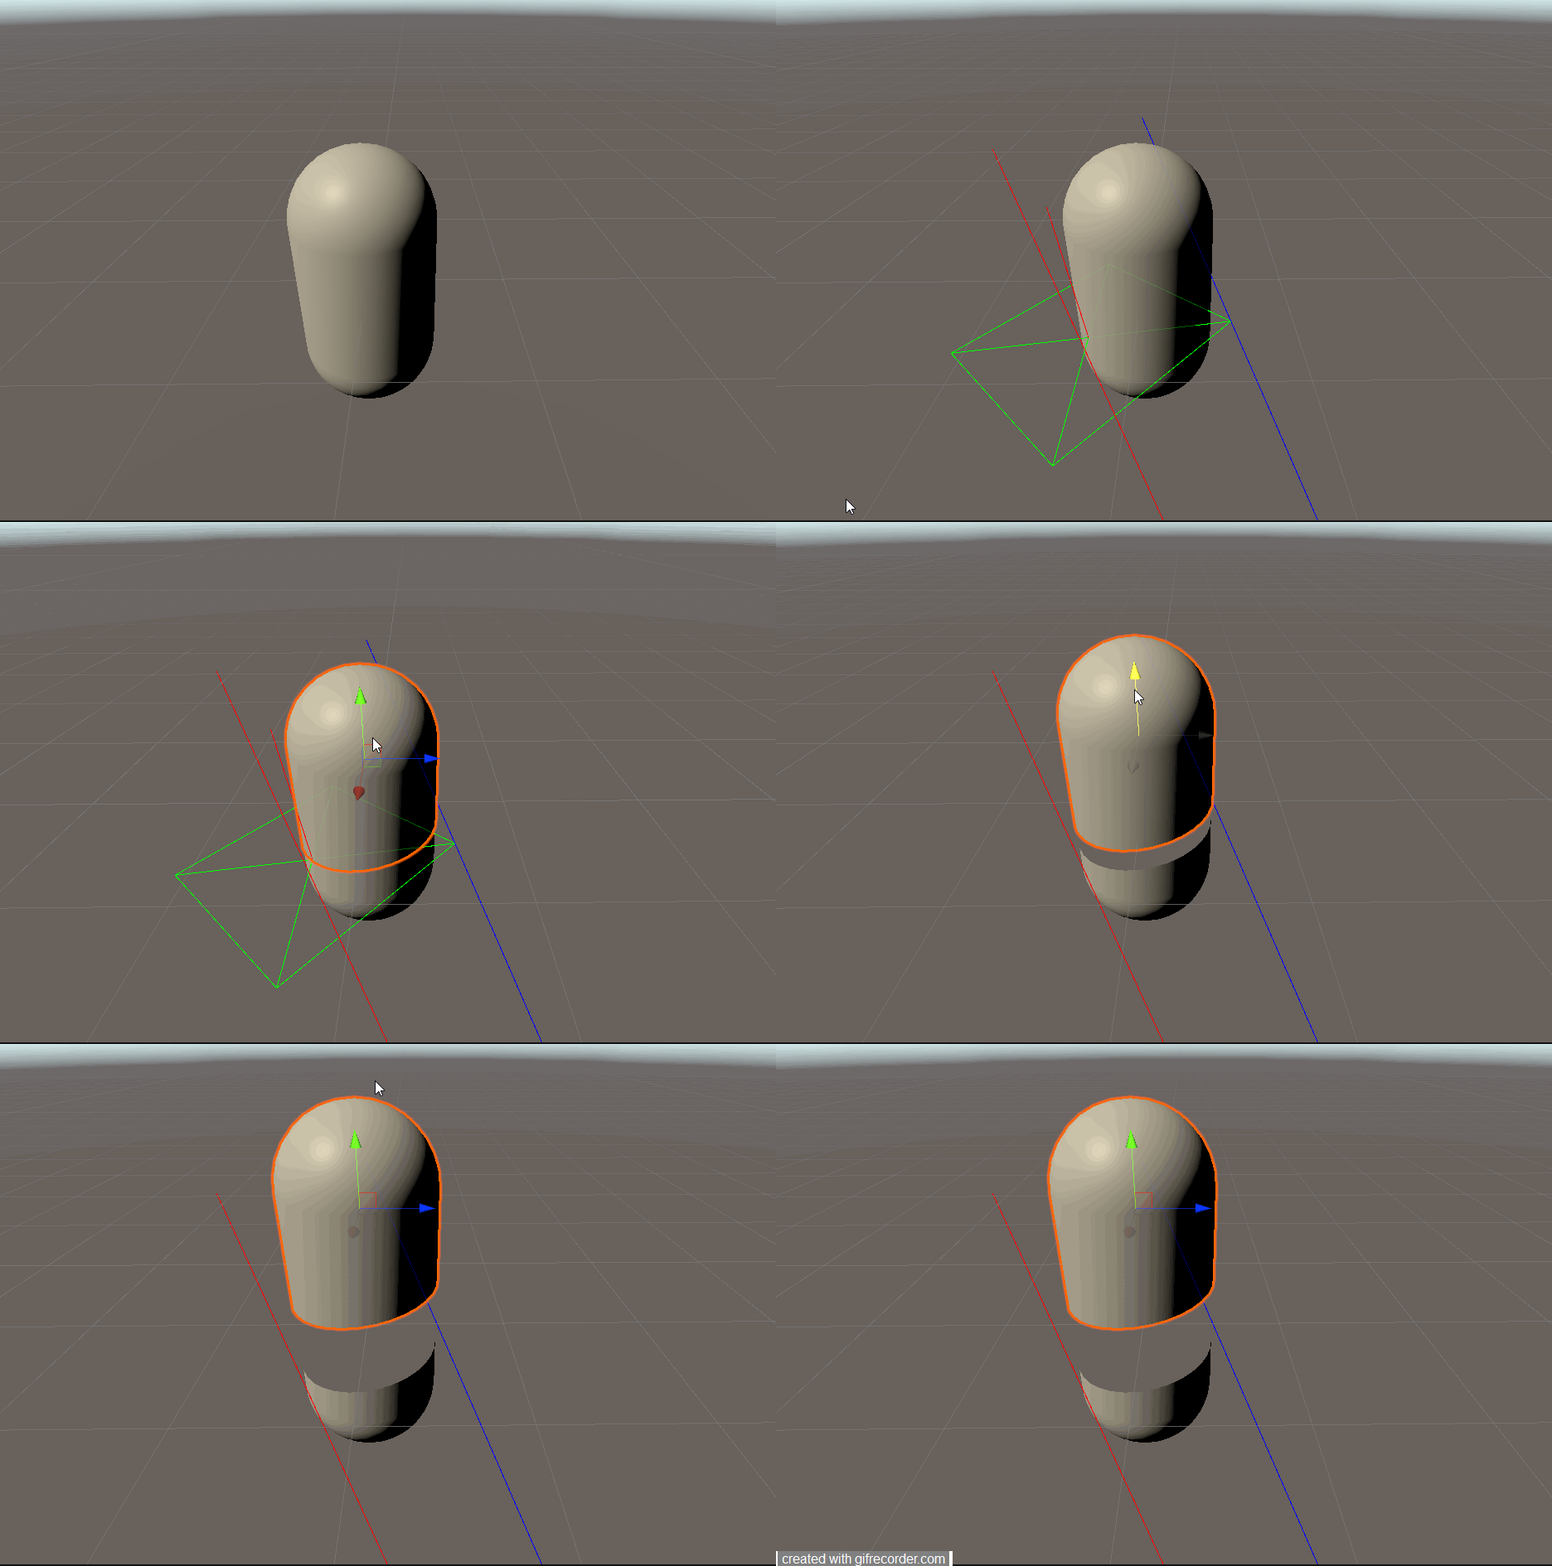
We finally look at adding interior faces to both meshes to carry the illusion that the overall mesh is a non-hollow substance. We start by looking at the following picture.
We notice that each vertex in each face of the cube that has been affected by the cutting of a triangle will be part of the interior face. To be more specific, according to our notation, we discribed the intersection points of the triangles with our plane i1 and i2. Every triangle that has been affected by the cut has its own i1 and i2 and will be part of the interior face of the resulting meshes. We start by adding a list of intersected points to our MeshSlicer and in our CutTriangle(...) function we append our list with these points.
. . .
Vector3 i1 = p0 + line1*d1;
Vector3 i2 = p0 + line2*d2;
Triangle t1 = new Triangle(p0, i2, i1, normal);
Triangle t2 = new Triangle(p1, i1, i2, normal);
Triangle t3 = new Triangle(p1, i2, p2, normal);
if (p0PosSide) {
positive.AddTriangle(t1);
negative.AddTriangle(t2);
negative.AddTriangle(t3);
} else {
negative.AddTriangle(t1);
positive.AddTriangle(t2);
positive.AddTriangle(t3);
}
}
public void AddToInteriorFacePoints(Vector3 p) {
if (this.interiorFacePoints == null) this.interiorFacePoints = new List<Vector3>();
this.interiorFacePoints.Add(p);
this.interiorFaceCenter += p;
}
Our helper function AddToInteriorFacePoints adds to our interiorFacePoints list and also keeps track of the sum of all the interior face points so that we can average the center of the points later on (once we know how many points there will be in total).
public void DrawInteriorFaces(Vector3 normal) {
if (this.interiorFacePoints == null) return;
if (this.interiorFacePoints.Count < 3) return;
...
// average out interior face center
this.interiorFaceCenter /= this.interiorFacePoints.Count;
for (int i = 0; i < this.interiorFacePoints.Count; i+=2) {
...
Triangle t = new Triangle(this.interiorFaceCenter, this.interiorFacePoints[i], this.interiorFacePoints[i+1], ...);
AddTriangle(t, submeshIndex);
}
...
}
We now add our code to add interior face triangles to our main algorithm.
Since the negative mesh's interior face is facing the backside of the plane, its normal is parallel to the plane. Since the positive mesh's interior face is facing the frontside of the plane, its normal is exactly opposite the plane's normal.
. . .
// give negative and positive new mesh slicers
MeshSlicer negativeSlicer = negative.GetComponent<MeshSlicer>();
MeshSlicer positiveSlicer = positive.GetComponent<MeshSlicer>();
for (int i = 0; i < this.meshfilter.mesh.subMeshCount; i++) {
int[] triangles = this.meshfilter.mesh.GetTriangles(i);
for (int j = 0; j < triangles.Length; j+=3) {
int a = triangles[j];
int b = triangles[j+1];
int c = triangles[j+2];
bool aPosSide = plane.GetSide(vertices[a]);
bool bPosSide = plane.GetSide(vertices[b]);
bool cPosSide = plane.GetSide(vertices[c]);
if (aPosSide && bPosSide && cPosSide) {
positiveSlicer.AddTriangle(...);
} else if (!aPosSide && !bPosSide && !cPosSide) {
negativeSlicer.AddTriangle(...);
} else {
this.CutTriangle(...);
}
}
}
// add triangle saves added triangles to meshslicer component. We commit them all at once when we're completely done
leftSlicer.CommitTriangles();
rightSlicer.CommitTriangles();
// destroy current game object
Destroy(this.gameObject);
}
The full source and sample scene can be found in this repository. Thanks for tuning in, until next time!